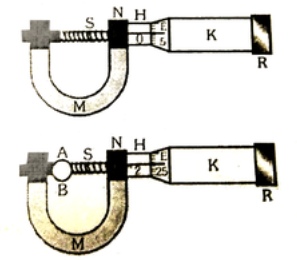
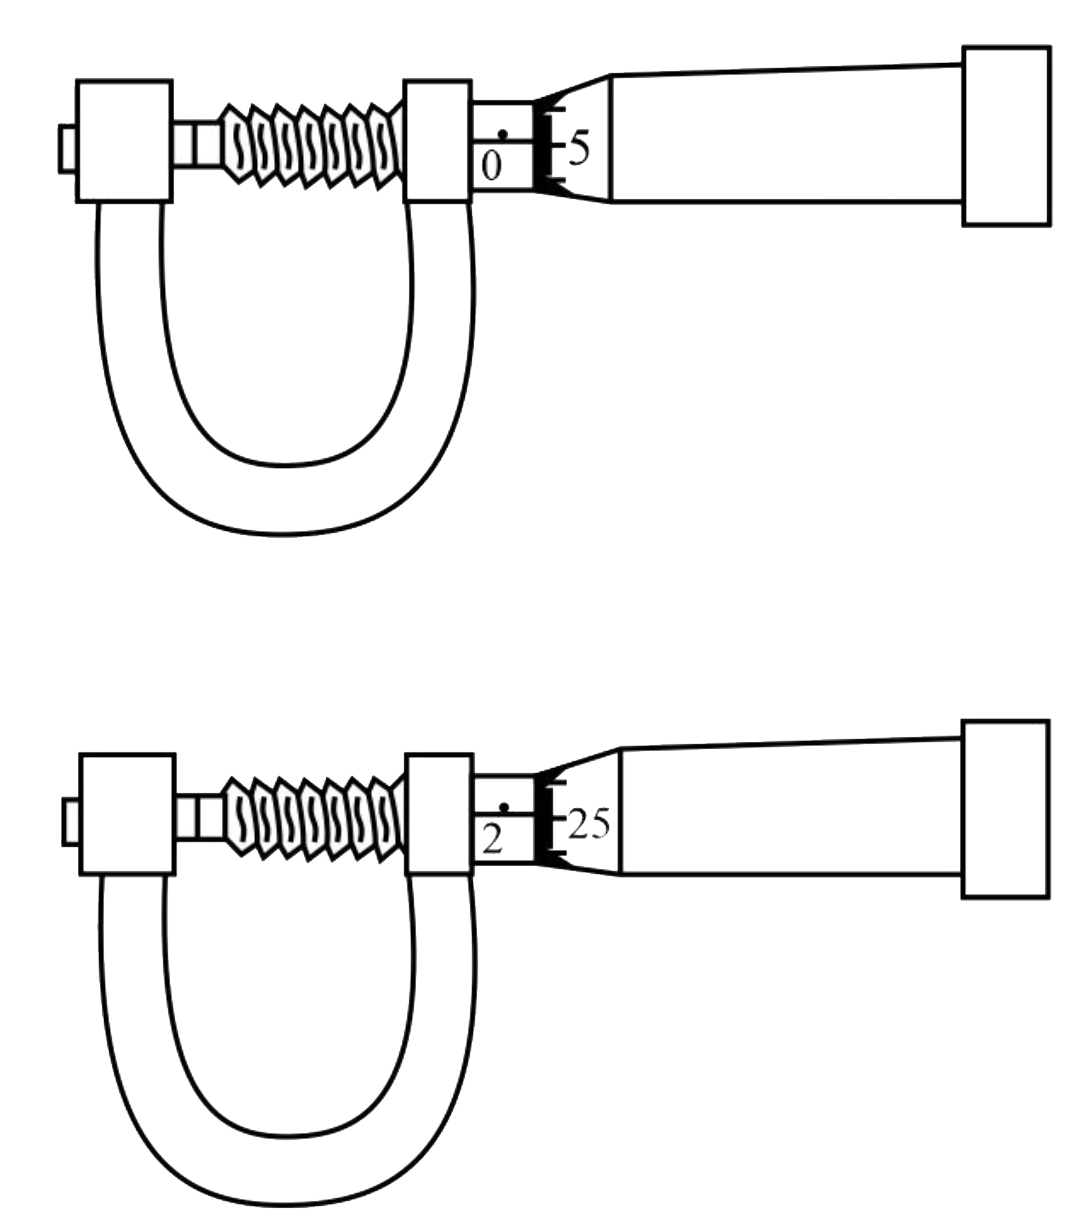
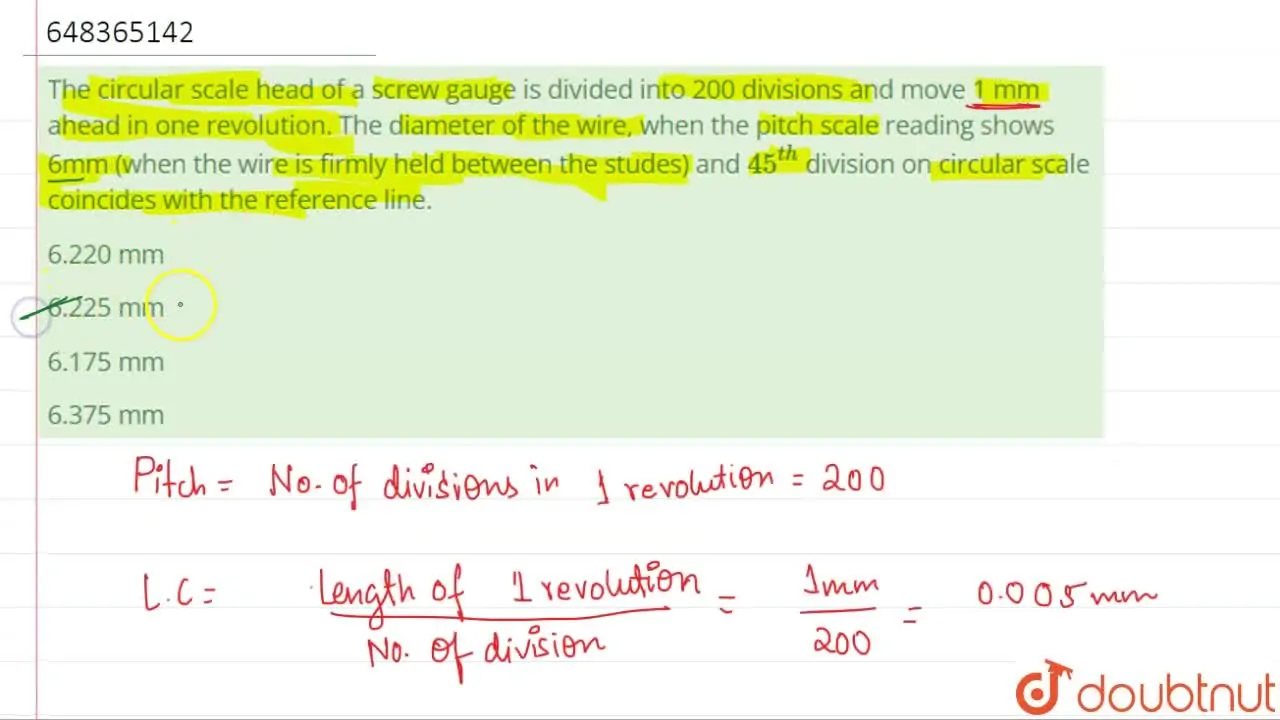
The circular scale head of a screw gauge is divided into 200 divisions and move 1 mm ahead in one revolution. The diameter of the wire, when the pitch scale reading shows 6mm (when the wire is firmly held between the studes) and 45th division on circular scale coincides with the reference line.
6.220 mm
6.225 mm
6.175 mm
6.375 mm
The correct Answer is:B
Step by step video & image solution for The circular scale head of a screw gauge is divided into 200 divisions and move 1 mm ahead in one revolution. The diameter of the wire, when the pitch scale reading shows 6mm (when the wire is firmly held between the studes) and 45^(th) division on circular scale coincides with the reference line. by Physics experts to help you in doubts & scoring excellent marks in Class 11 exams.
Similar Questions
The circular head of a screw gauge is divided into 50 divisions and the screw moves 1 mm ahead in two revolutions of the circular head. Find its pitch .
View SolutionThe circular head of a screw gauge is divided into 50 divisions and the screw moves 1 mm ahead in two revolutions of the circular head. Find its least count.
View SolutionThe circular scale of a screw gauge has 50. divisions and pitch of 0.5 mm. Main scale reading is 2. Find the diameter of sphere.
 View Solution
The circular scale of a screw gauge has 50 divisions and pitch of 0.5 mm. Find the diameter of sphere. Main scale reading is 2 -
_E01_289_Q01.png) View Solution
View SolutionThe pitch of a screw gauge is 1mm and its cap is divided into 100 divisions. When this screw gauge is used to measure the diameter of a wire, then main scale reading is 2mm and 58th division of circular scale coincides with the main scale. There is no zero error in the screw gage. Then the diameter of the wire is
View SolutionThe number of circular divisions of shown screw gauge are 50. It moves 0.5 mm on main scale in one rotation. The diameter of the ball is:
 View Solution
The circular scale of a micrometer has 200 divisions and pitch of 2mm. Find the measured value of thickness of a thin sheet.
_S01_032_Q01.png) .View Solution
.View SolutionThe pitch of a screw gauge is 1mmandthereare100÷isions on the circular scale. In measuring the diameter of a sphere there are six divisions on the linear scale and forty divisions on circular scale coincide with the reference line. Find the diameter of the sphere.
View SolutionThe pitch of a screw gauge is 0.5 mm and there are 100 divisions on its circular scale. The instrument reads + 2 divisions, when no object is placed between the studs which are firmly in contact. In measuring the diameter of wire, there are 4 divisions on the pitch scale and 83rd division of the of the circular scale coincides with the base line / reference line. Then the diameter of the wire is
View SolutionThe pitch of a screw gauge is 0.5m and there are 50 divisins on its circular scale and one man scale division =0.5mm. Before starting the measurement, it is found that when jaws of the screw gauge are brought in contact, the zero of the circular scale lies 5 divisions above the reference line. When a metallic wire is placed betwen the jaws, four main scale divisions are clearly visible and 16th division on the circular scale coincides with the reference line. The diameter of the wire is
View Solution


