Draw ray diagrams showing the image formation by a concave lens when an object is placed
(a) between focus and twice the focal length of the lens
(b) beyond twice the focal length of the lens
To solve the problem of drawing ray diagrams for image formation by a concave lens, we will follow these steps for both scenarios:
(a) Object placed between focus (F) and twice the focal length (2F):
1. Draw the Concave Lens: Start by sketching a concave lens. Indicate the principal axis, the focal points (F), and the center of the lens.
2. Position the Object: Place the object (an arrow) between the focal point (F) and twice the focal length (2F) on the left side of the lens.
3. Draw the Incident Rays:
- Ray 1: Draw a ray parallel to the principal axis from the top of the object. When this ray hits the lens, it will diverge as if it is coming from the focal point (F) on the same side as the object.
- Ray 2: Draw another ray passing through the optical center of the lens. This ray will continue in a straight line without bending.
4. Extend the Diverged Rays: Extend the diverged ray (Ray 1) backward to find the point where it appears to originate. This point is where the virtual image is formed.
5. Locate the Image: The intersection of the extended Ray 1 and Ray 2 will give you the position of the virtual image. It will be on the same side as the object, upright, and diminished.
Conclusion for (a):
- The image formed is virtual, erect, and diminished.
---
(b) Object placed beyond twice the focal length (2F):
1. Draw the Concave Lens: Again, start with a sketch of the concave lens, indicating the principal axis and focal points (F and 2F).
2. Position the Object: Place the object (an arrow) beyond the point 2F on the left side of the lens.
3. Draw the Incident Rays:
- Ray 1: Draw a ray parallel to the principal axis from the top of the object. When this ray hits the lens, it will diverge as if it is coming from the focal point (F) on the same side as the object.
- Ray 2: Draw another ray passing through the optical center of the lens. This ray will continue in a straight line without bending.
4. Extend the Diverged Rays: Extend the diverged ray (Ray 1) backward to find the point where it appears to originate.
5. Locate the Image: The intersection of the extended Ray 1 and Ray 2 will give you the position of the virtual image. It will be on the same side as the object, upright, and highly diminished.
Conclusion for (b):
- The image formed is virtual, erect, and highly diminished.
---
- Ray 1: Draw a ray parallel to the principal axis from the top of the object. When this ray hits the lens, it will diverge as if it is coming from the focal point (F) on the same side as the object.
- Ray 2: Draw another ray passing through the optical center of the lens. This ray will continue in a straight line without bending.
- The image formed is virtual, erect, and diminished.
- Ray 1: Draw a ray parallel to the principal axis from the top of the object. When this ray hits the lens, it will diverge as if it is coming from the focal point (F) on the same side as the object.
- Ray 2: Draw another ray passing through the optical center of the lens. This ray will continue in a straight line without bending.
- The image formed is virtual, erect, and highly diminished.
Topper's Solved these Questions
- LIGHT : REFLECTION AND REFRACTIONBook:NCERT EXEMPLAR ENGLISHChapter:LIGHT : REFLECTION AND REFRACTIONExercise:Short Answer Type Questions
Explore 10 Videos
- ELECTRICITYBook:NCERT EXEMPLAR ENGLISHChapter:ELECTRICITYExercise:Short Answer Type Questions
Explore 17 Videos
- MAGNETIC EFFECTS OF ELECTRIC CURRENT Book:NCERT EXEMPLAR ENGLISHChapter:MAGNETIC EFFECTS OF ELECTRIC CURRENT Exercise:LONG ANSWER TYPE QUESTIONS
Explore 8 Videos
Similar Questions
Draw ray diagrams showing the image formation by a convex lens when an object is placed
(a) between optical centre and focus of the lens
(b) between focus and twice the focal length of the lens
( c) at twice the focal length of the lens
(d) at infinity , (e) at the focus of the lens
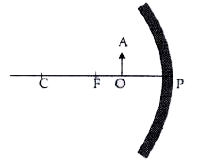
View SolutionDraw a ray diagram to show the formation of image by a concave mirror for an object placed between its pole and focus. State three characteristics of the image.

View SolutionAn object is placed in front of a converging lens at a distance greater than twice the focal length of the lens. Draw a ray diagram to show the formation of the image.
View SolutionThe distance between an object and a divergent lens is m times the focal length of the lens. The linear magnification produced by the lens is
View SolutionThe figure shows and equiconvex lens of focal length f. It the lens is cut along PQ, the focal length of each half will be

View SolutionDraw a labelled ray diagram for the formation of image by a convex lens of focal length 15 cm when the object is placed at a distance of 25 cm from the lens. Determine the size of the image formed, if size of the object is 4 cm.
View SolutionWhen an object is placed 40cm from a diverging lens, its virtual image is formed 20cm from the lens. The focal length and power of lens are
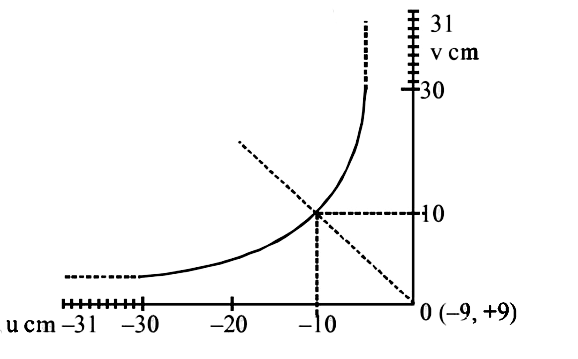
View SolutionThe graph shown relationship between object distance and image distance for a equiconvex lens. Then focal length of the lens is

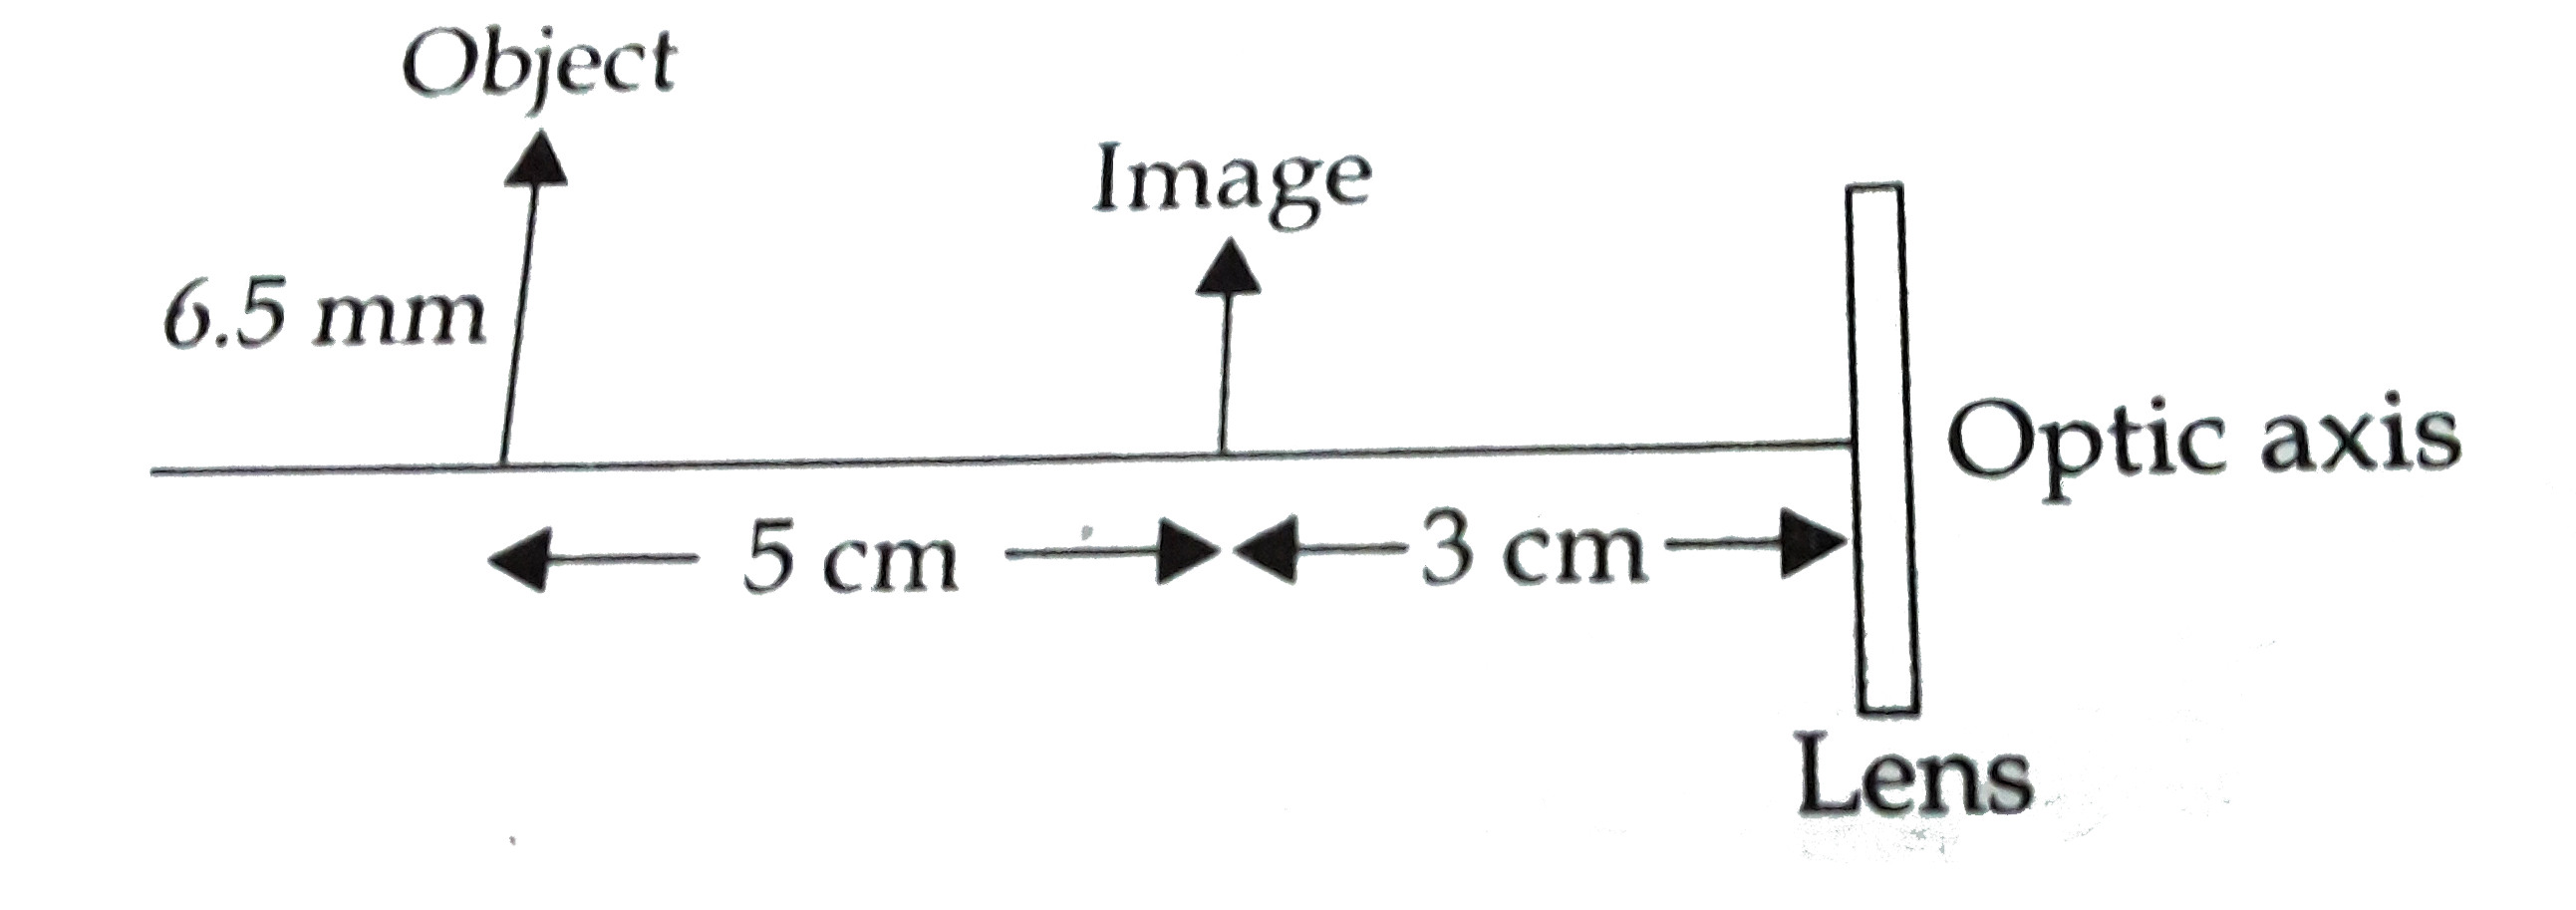
View SolutionShown an object and its image formed by a thin lens. Then the nature and focal length of lens is

View SolutionIf the focal length of the objective lens is increased then Magnifying power
View Solution

