Figure shows the assembly of a PROTECTED FLANGE COUPLING.Disassemble the parts and then draw the following views of the following components to scale 1:1 keeping their position same with respect to H.P. and V.P.i FLANGE Ba Front view upper half in section. b Left side view. ii RECTANGULAR SUNK TAPER KEYa Front view b Top view. Print the title and the scale used. Draw the projection symbol. Give 6 important dimensions.
PROTECTED FLANGE COUPLING DISASSEMBLY FLANGE Bi FRONT VIEW UPPER HALF IN SECTION a Drawing the upper half with hatching lines b Drawing the lower half portion c Drawing hole of ⱷ8 mm and 3mm extended portion of ⱷ40 mm d Drawing the key way ii LEFT SIDE VIEW a Drawing six Circles and PCD b Drawing keyway 1 and hole of ⱷ16 mm1 c Drawing cutting planeRECTANGULAR SUNK TAPER KEY i Front view drawn correctly ii Top view drawn correctly DETAILS Title 1 Scale used 1 Projection symbol 1 6 important dimensions 3
Related Solutions
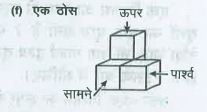
नीचे दी हुई वस्तुओं के, सामने से दृश्य, पार्श्व दृश्य और ऊपर से दृश्य खींचे:
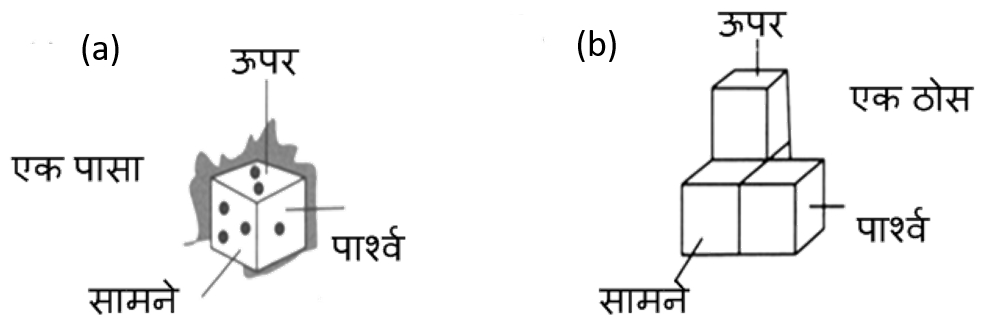
View SolutionFor the following figure, draw raw boxes of (i) front view (ii) side view and (iii) top view.
View SolutionDraw the front view, side view and top view of the given objects.
View SolutionDraw the front view, side view and top view of the given objects.
A nut

View SolutionDraw the front view, side view and top view of the given objects
A table
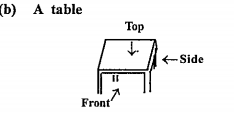
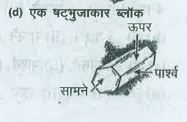
View Solutionदिए गए एक ष्टभुजाकार ब्लॉक के, सामने से दृश्य, पार्श्व दृश्य और ऊपर से दृश्य खींचिए।
View Solutionदी हुई वस्तुओं के, सामने से दृश्य, पार्श्व दृश्य और ऊपर से दृश्य खींचिए -
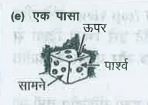
View Solutionदी हुई वस्तुओं के, सामने से दृश्य, पार्श्व दृश्य और ऊपर से दृश्य खींचिए -
View SolutionDraw the front view, side view and top view of the given object :-
View SolutionDraw the front view, side view and top view of the given object :-
View SolutionLook at the following objects and draw a front view and a top view for them.
View SolutionLook at the following objects and draw a front view and a top view for them.
View SolutionConsider the distance between two consecutive dots to be 1 cm and draw the front view, side view and top view of the following 3-D figures.
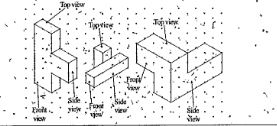
View SolutionDraw the front view, side view and to view of the given objects.
A solid
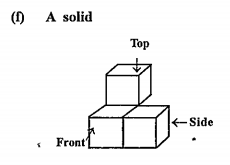
View SolutionDraw the front view, side view and to view of the given objects.
A dice
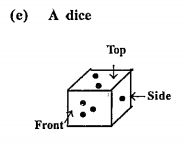
View SolutionDraw the top, front and side views of the given solid.
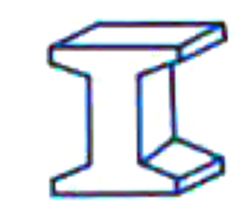
View SolutionDraw the front view, side view and top view of the given objects
A military tent
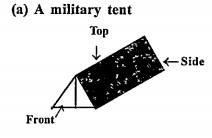
View SolutionDraw the front view, side view and top view of the given objects.
A hexagonal block
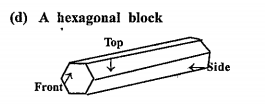
View Solutionदिए हुए ठोस के लिए, ऊपर से दृश्य, सामने से दृश्य और पार्श्व दृश्य की पहचान कीजिए:

View Solutionदिए हुए ठोस के लिए, ऊपर से दृश्य, सामने से दृश्य और पार्श्व दृश्य की पहचान कीजिए:

View Solution